In today’s post I am hoping to explain one of the more difficult concepts of bonsai and or any art or design for that matter. It is the concept of seeing.
But doesn’t everyone see? Well not exactly. I like to think that everyone ‘looks’ (except the blind) but not everyone ‘sees’.
What do I mean by that? Well, I like to think that seeing involves interpreting what it is that you are looking at in a meaningful way. For example; if you were to look at a truck, you mind would see the shape and tell your brain you were looking at a truck. But really what you are looking at is a combination of shapes and forms that are all put together to form what we know as a truck. Does it have four wheels, six, eight? Twin cab, single cab? Flat tray, refrigerated? Trucks come in a range of styles and shapes and to just write it off as a ‘truck’ is missing a lot of information.
Clear as mud?
I was going through my photos from my last trip to japan (almost a year ago today) and noticed a good example of me not being able to really see what was right in front of me.
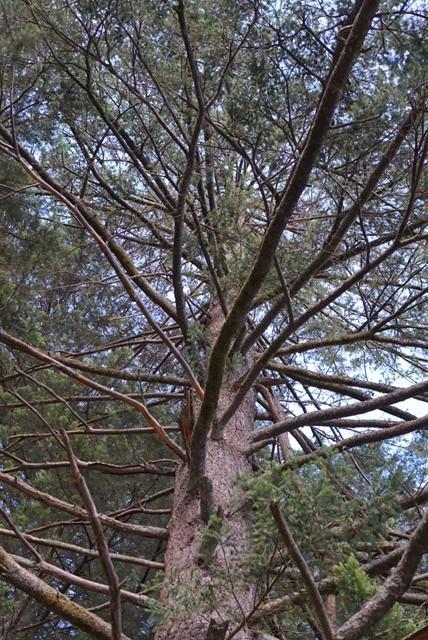
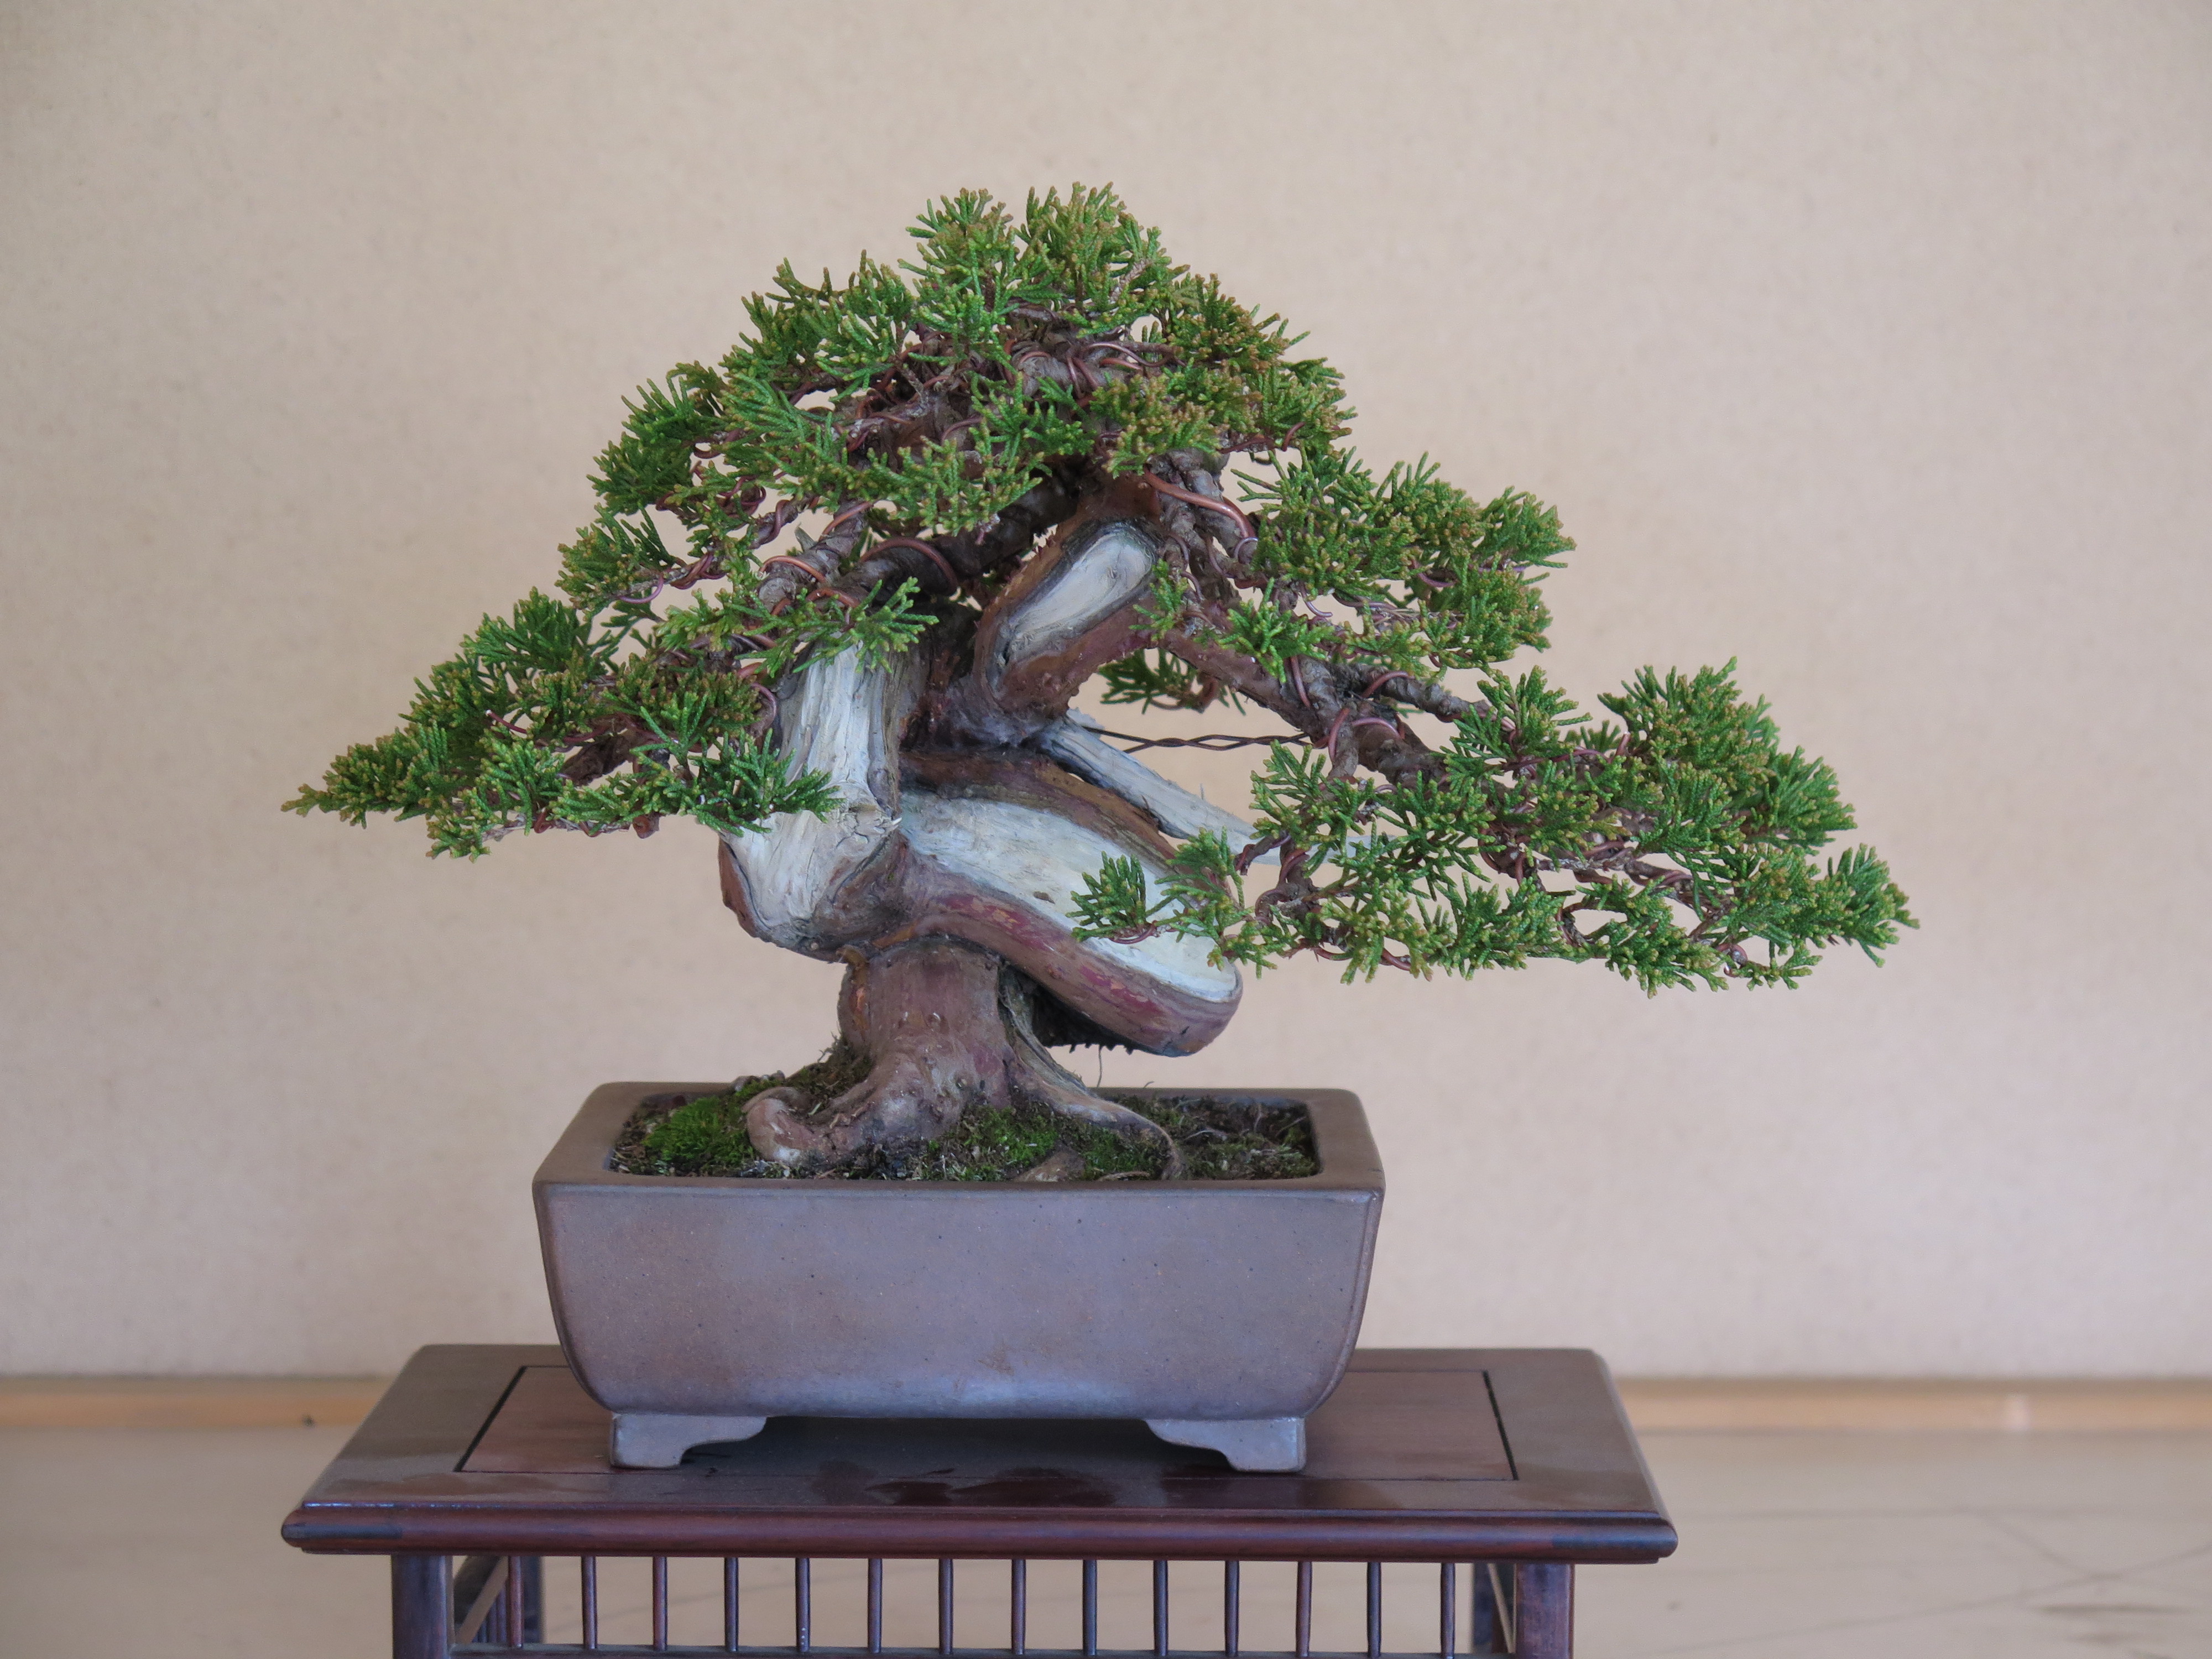
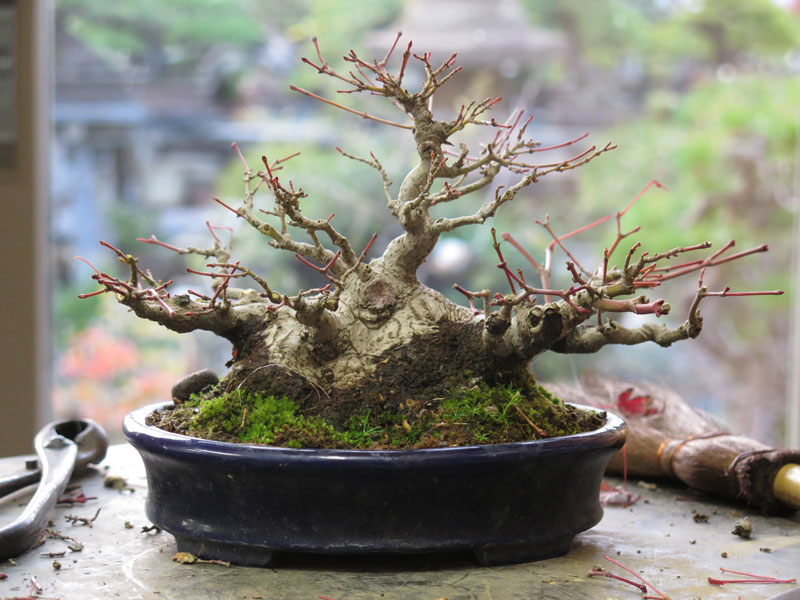
While i was in japan I worked on the below white pine while studying at Taisho-en.

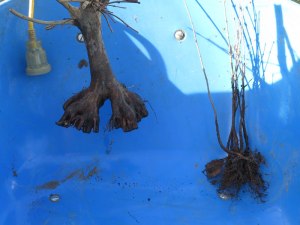
The original front
Firstly, I decided that from this aspect the larger root formed a very straight line which was much less obvious from the tree’s back side. So I decided on a front change.

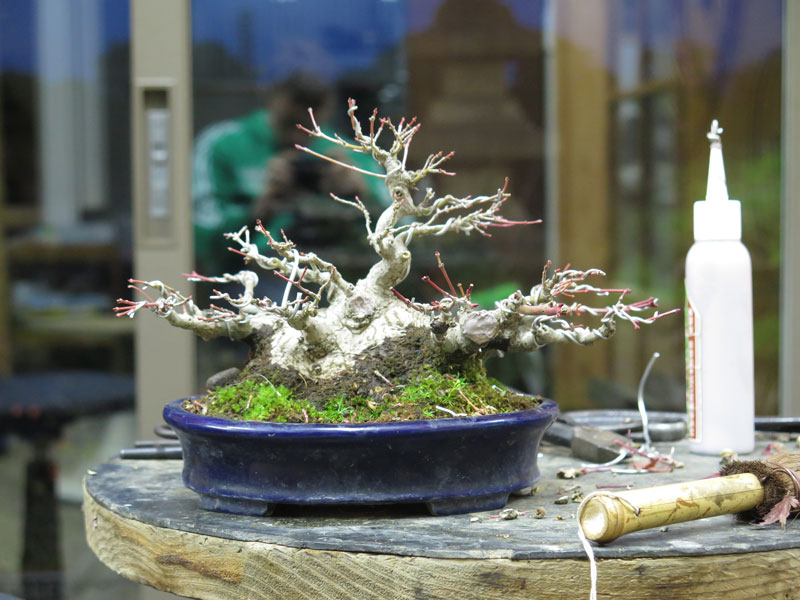
The original back (new front)
So far the styling was going to plan. New front decided, check.
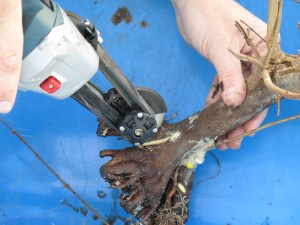
I then addressed the old first branch (which was now a back branch) by cutting it off.

Branch removed
This achieved a couple of things. Firstly it removed a large heavy branch which took away from the trunks size and secondly it compacted the tree which highlighted the trunk further.
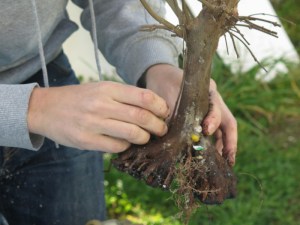
Following the cut, I cleaned the foliage and branches, worked on the jin that the cut off branch had created and also introduced some shari to the new front of the tree. I added a bunch of wire and finally came up with an image I was happy with.

Finished?
At which stage Oyakata strolled past and gave his review of the tree. I sat and listened and took on board what he was saying, nodding and agreeing with everything he was saying. Every point he made was spot on and I could see the issues the minute he mentioned them. I felt a little embarrassed I hadn’t picked them up myself as I had been staring at this tree for the best part of a day and hadn’t actually seen the errors that were right in front of my nose. My eye had got lazy and my work had suffered as a result.

After adjustments
Oyakata had made a couple of small changes that made big difference. He slightly adjusted the front angle which moved the back branch (between apex and first branch) into a position that gave some indentation to the outer silhouette. This broke up the rigid silhouette and made the canopy outline more interesting.
He also broke up the large mass of the apex by bringing some negative space into the apex foliage, exposing a section of trunk. This added layers of detail and changed the appearance and perceived scale of the tree.
He then slightly separated the bottom edges of the two pads on either side of the apex. Looking at the above image with this in mind, the separation could be enhanced to create some more dynamism in the future.
Now nothing that Oyakata did was earth shattering. All his adjustments were quite simple design changes that I already should have known. The issue was that I had stopped looking at the tree analytically and rather had got caught up in the over all form.
It probably had something to do with it being the end of the day and perhaps i might have picked up these changes had I come back to the workshop fresh in the morning but it is an important reminder to not just look at your trees. You should look analytically so that you really ‘see’ what is going on.
I am sure you all have trees on your benches that you look at every day, who’s form and structure you have become accustomed to and have stopped looking for improvement in. We all do it and it is one of the major contributing factors as to why an artists bonsai stagnate.
Small changes can have big effects, so get out there and really try to ‘see’ what you are looking at. Challenge what is in front of you and always look for improvement.
Most skills in bonsai can be learnt in a short time frame but developing your eye and keeping it active and critical, especially in regards to your own work, and this requires constant work over a long time frame.