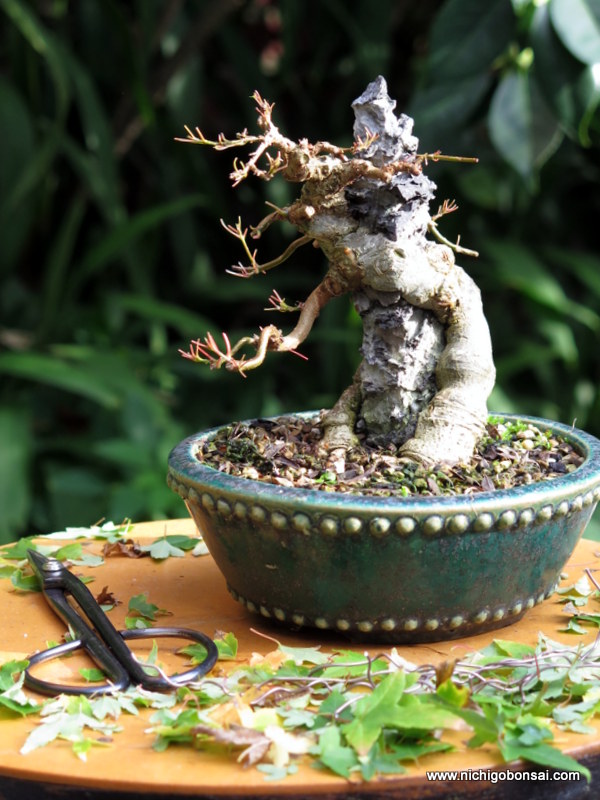
The trident maple below is this years project. I spotted this tree in a friends garden and loved the big gnarly base. I like the base so much that I have just realised that I don’t have a picture of the whole tree, just photos of the base!

Lumpy flared base.
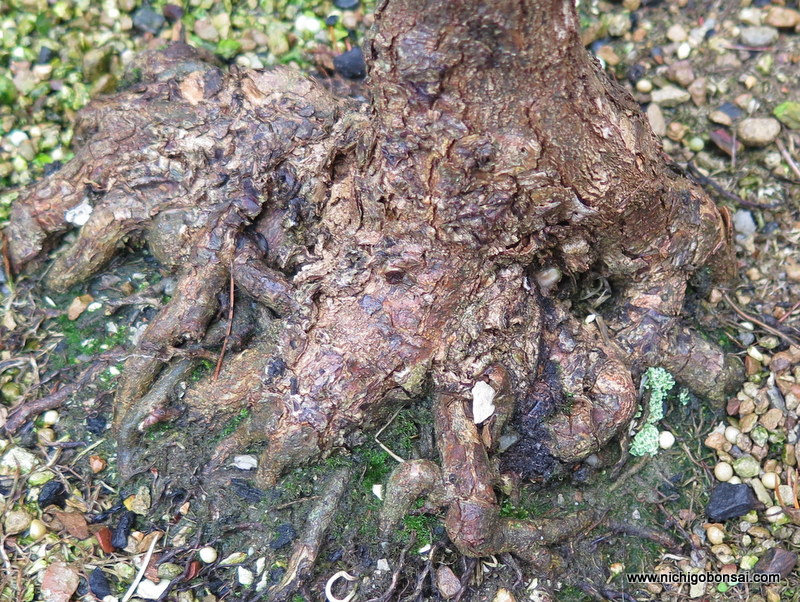
After removing one root, can you see where it came from?
The base has great character but the rest of the tree is tall and directs the eye away from the nebari so I felt I could work on that to improve the tree overall. The other challenge with this trident is that it is a variety with large leaves and long internodes which makes it difficult to make a good canopy, especially on small trees.
I have noticed that other tridents with this growth habit also develop nice bases easily. The down side is that their ramification is course and thick. How can you make use of the base and also have a good foliage canopy?

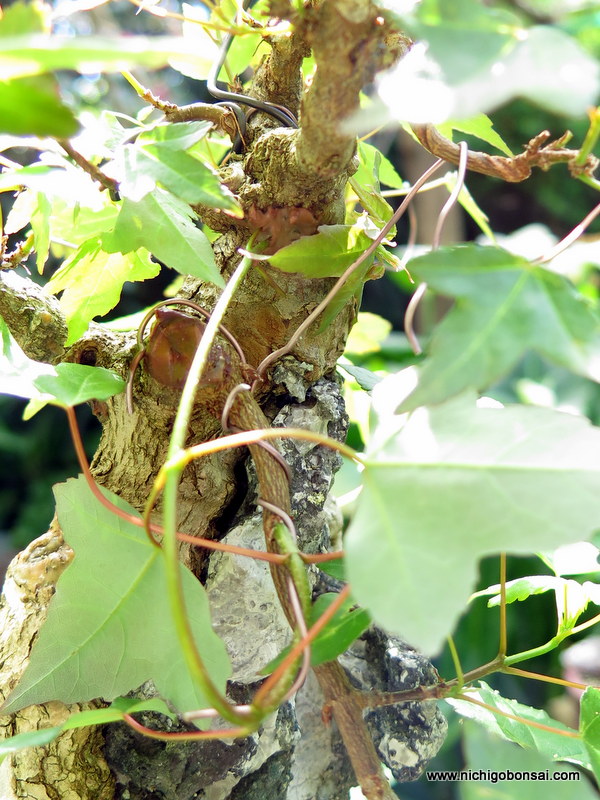
Approach grafting new foliage.
The answer is to change the foliage. I decided to graft a finer foliage onto the lower section of the trunk so that I can make a shohin sized small tree with a huge powerful base and fine delicate branching.

Seedling being planted in the same pot.
I chose a seedling from a batch that showed good foliage characteristics. That is smaller internodes and compact growth. I planted the seedling into the same pot as the main tree for ease of watering and then grafted the young whip into the main trunk.
I actually grafted it twice into the trunk, once on each side. I bent the seedling into a ‘u’ shape and simple cut a channel in either side of the trunk for the seedling to fit into. One side will become the apex, the other will become the first branch. This way I will have the same foliage on the whole tree once I cut off the main trunk in a year or two.
Even though i am changing the foliage I also wanted to keep the old foliage so i can experiment with it in regards to its base thickening properties. To save the foliage I decided to air layer off the top and the first branch.

The cut made and scraped clean. I actually used some branch cutters to cut a small amount of wood from around the layer site to ensure I got all of the cambian layer.

Sphagnum moss soaked in seaweed extract, all wrapped in strong plastic.
If these layers work, I will probably grow them in pots for a year or two before ground growing them to see if the base flaring/thickening is a genetic trait or just a result of how this tree was grown.
I have noticed that there are tridents that grow good bases and poor ramification and then tridents that do the opposite. Has anyone else noticed this?
I am hoping that I can use cuttings from this tree to grow great bases then graft a good foliage variety on top to finish up the process. Time will tell if this works out or not. If this doesn’t work out I have another seed grown trident that shows similar properties. Fingers crossed.