Sometimes things elsewhere look better than what you might have at your own disposal. This can do two things. One is you can become inspired and in turn try to improve your situation, or you can feel defeated and do nothing and long for what is over the proverbial fence.
In terms of Australian bonsai we sometimes look over our fence (or ocean) and long for the material of Japan or the yamadori of America or Europe. Sometimes this inspires but a lot of the time due to Australia’s strict quarantine laws (making importing near impossible) and the fact that most native collectible material is protected by law it instills a feeling of giving up or accepting second best. Myself, after returning from a trip from Japan, have looked over my collection and felt as if I was so far behind that I might as well sell up and take up stamp collecting when comparing my trees to Japan’s masterpieces and fantastic stock.
I have done my share of moaning and complaining about what is available (or perhaps more importantly not available) but complaining doesn’t solve the problem.
Australia doesn’t have juniper and pines as our native flora and those species we do have that do make good bonsai are often protected from collecting by law. This combined with an import ban on most bonsai species puts the us on the back foot when it comes to yamadori. The best chances we have at material even vaguely similar is digging from gardens.
So where does this leave us? We need to start growing more of our own. Taiwan produces ground grown or farmed junipers that for all intents and purposes look the same as their yamadori counterparts. Japan produces tons of quality raw material in a massive range of species that ensures that there is always a healthy base of material being produced for future excellent bonsai.
Growing material is not difficult, it just takes a little time. Most of this time is best invested early on in a plant’s life when it is young and flexible. 5 minutes to do some root pruning and another 5 minutes to wire the trunk for shape and you have the foundations for something interesting that has the potential to turn into an excellent bonsai.

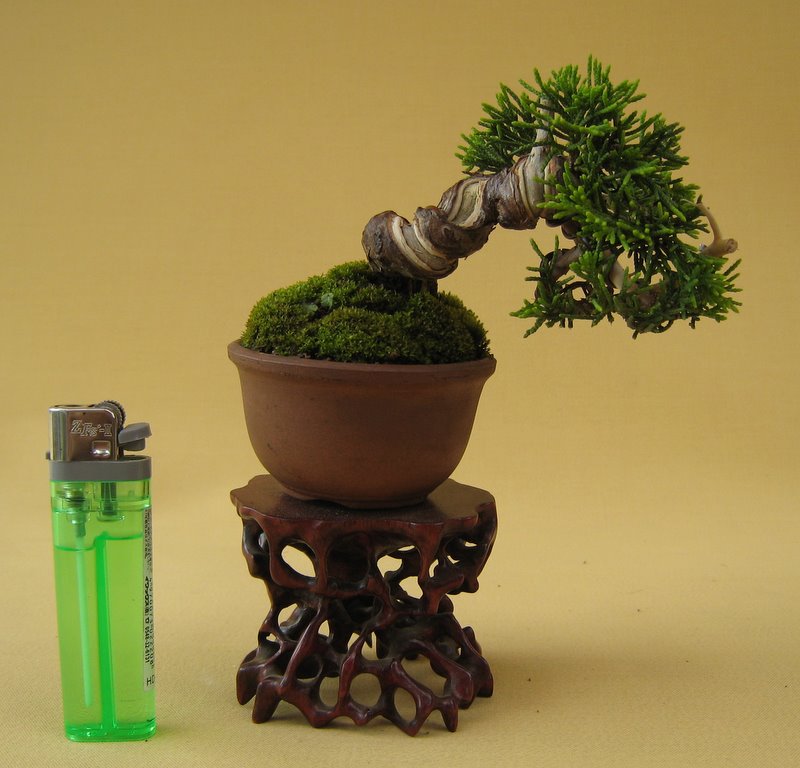
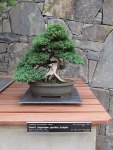
A tiny shimpaku
The above Juniper came from a grower in Shizuoka. While I was studying at the nursery we went on many stock buying trips and this tree was from one such trip. The grower was not a professional nursery man but rather a home grower. The rooftop over his small garden shed had been turned into a small stock production area. He grew stock and traded it with the nursery for pots and other trees, supplies etc. What surprised me was that this was a guy living minutes away from a nursery that sold stock and trees I could only dream of here in Australia, yet with all this stock at his disposal he still was growing his own, excellent material.
If every grower in Australia, grew 5-10 good stock plants a year we would have so much good stock we wouldn’t know what to do with it all.
This year I have finally decided to stop complaining about the lack of stock and making excuses about my lack of space and have planted 60 Trident maples and 60 Japanese Black Pines as a test batch. For some reason I had been making excuses over the last few years as to why I couldn’t get this process started. My backyard was too small, I didn’t have the time and I wanted to keep my collection at a small size etc.
This year I decided that I could make room in my backyard, the time I needed was not all that much and that I could sell a good percentage of the stock once matured to keep the collections size down and to add some money to the bonsai bank.
I decided that because space in my garden was at a premium, I would grow small bonsai stock. I don’t have a ground growing area so I also had to be able to grow in pots. Growing small-sized bonsai made this an easy proposition.
What I was hoping to achieve was similar to stock i had seen produced in Japan.

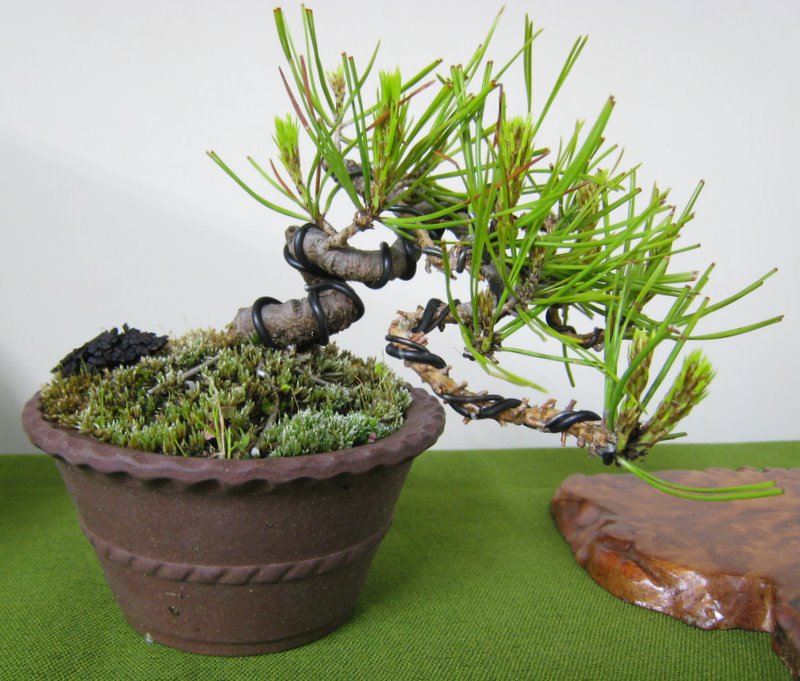
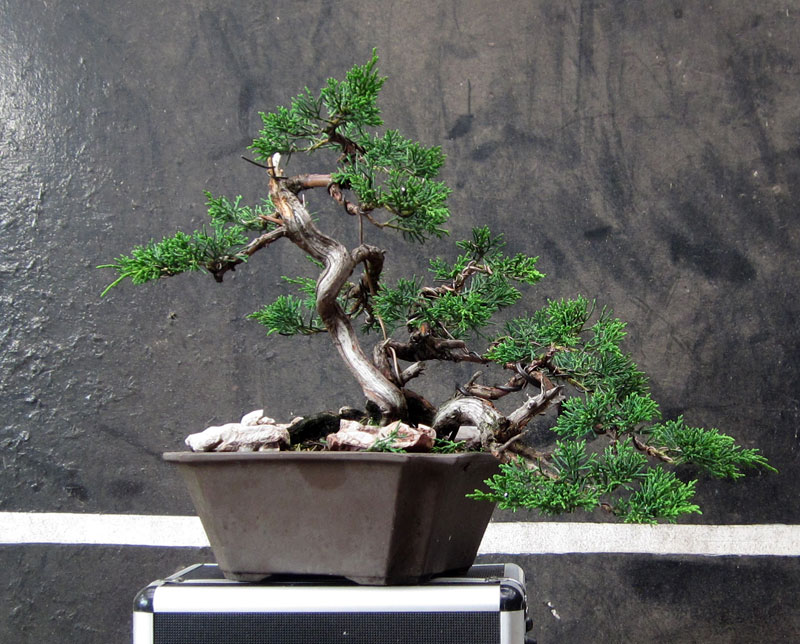
A Pine wired into an interesting shape. I am pretty sure that I can produce stock similar to the above pine from seed in 2-4 years.

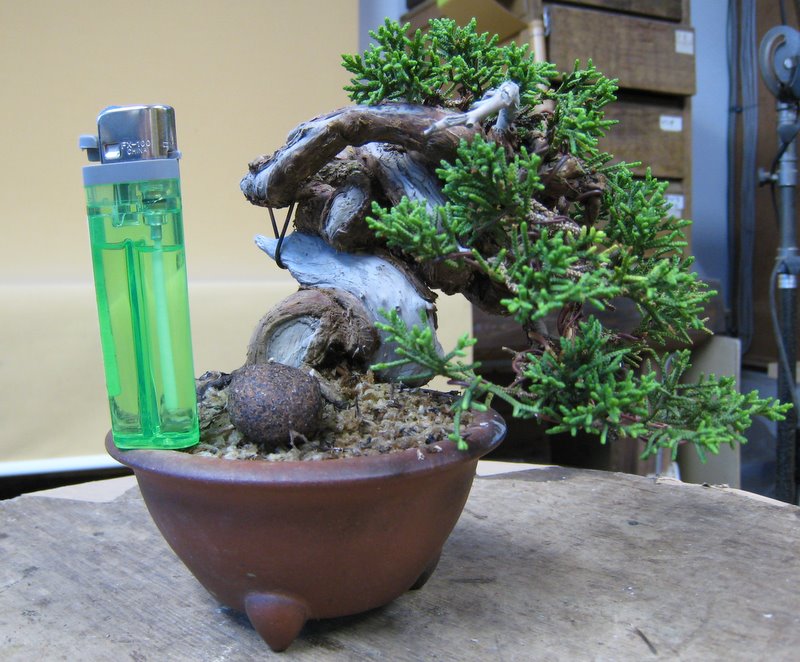
A juniper grown from cutting could save a year or two compared from starting from seed. Junipers might be a little slower than some species but they do make very impressive small bonsai and are worthwhile to grow.

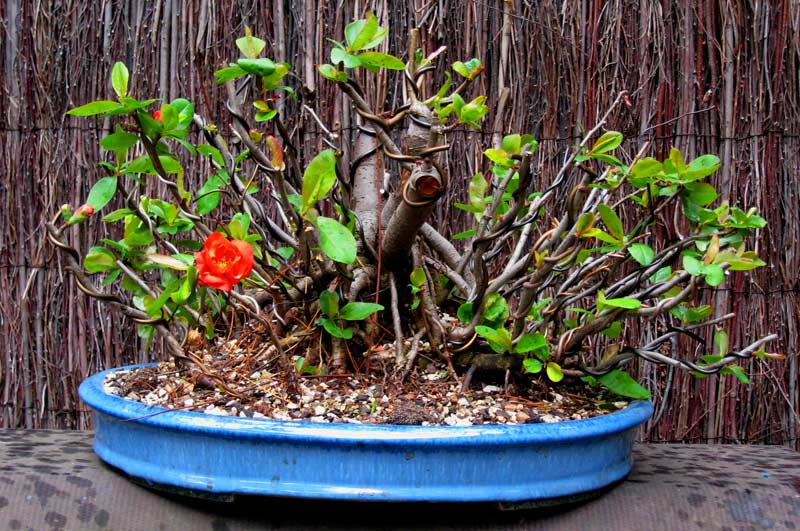
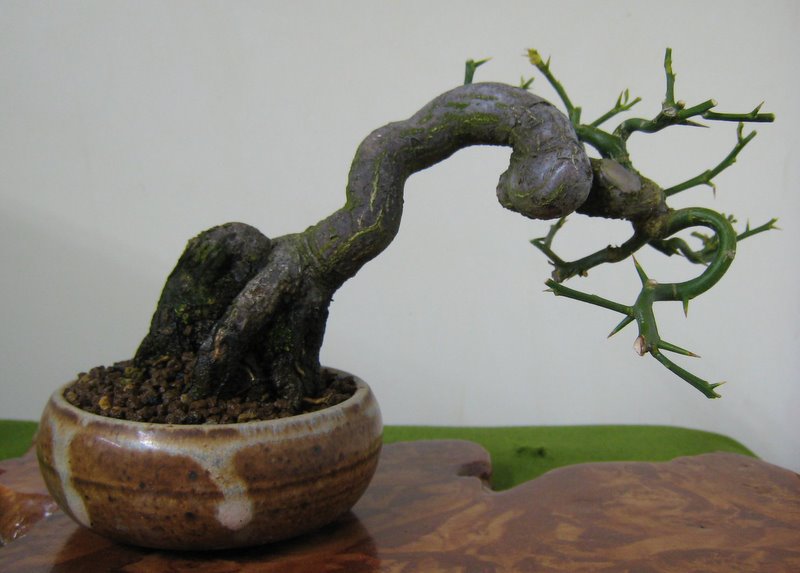
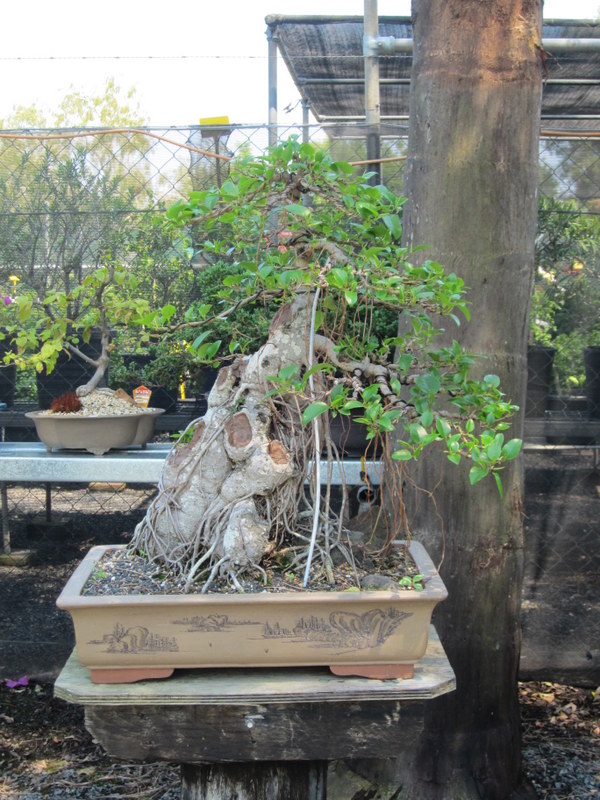
A small kumquat. You don’t immediately think of deciduous or leaf species when you imagine twisted bonsai but they also make convincing and interesting choices for this type of bonsai.
Using the above trees as my base inspiration, I decided for my test batch I would grow a mix of half deciduous and half conifer so I had some variation in the final bonsai. As I didn’t have any juniper cuttings, I struck some Japanese Black pine and Trident maple seed and potted them up individually.

Trident Maple seedlings as germinated.

Japanese Black Pine seedlings as germinated.

The removal of tap roots (encouraging lateral roots).

Potted up seedling

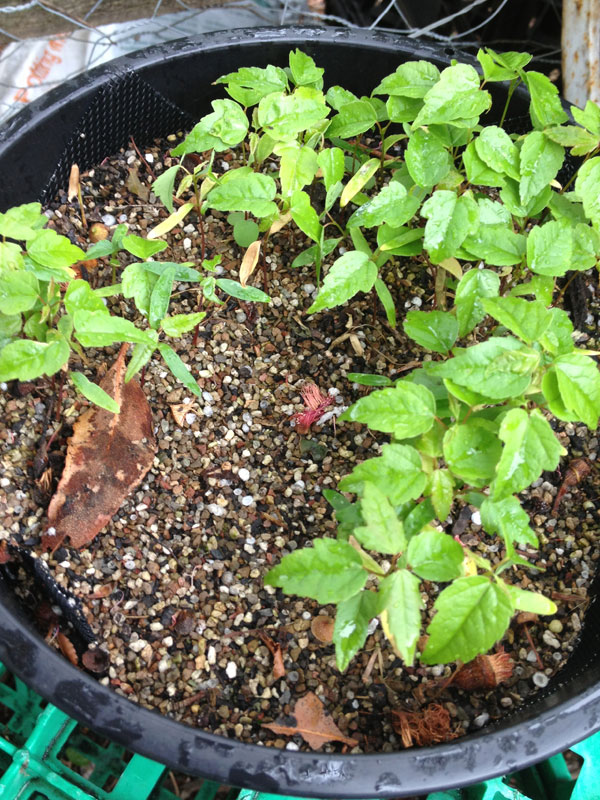
A tray of 30 seedlings. These seedlings need to re-establish and put on some growth before wiring.
Pretty simple so far. The time spent on each plant to this point ran to the 5 minute mark (a generous estimation). Not a lot of time considering how much time will be invested in the future with watering, pruning and re-potting etc.
After the seedlings have established and put on some growth I got some movement into them.
This should take another couple of minutes per tree. The process is pretty standard really, insert the wire into the soil at about a 45 degree angle until it hits the side/ bottom of the pot. Then wire the trunk making sure that the wire is applied in even coils. Then you simply bend the trunk.

Wiring the seedlings.
The bends you put in the trunk should be tight and irregular. As the tree thickens the bends will soften in appearance so over exaggerate the bends at this stage. I try not to think about the final form of the tree at this stage rather I like to combine interesting kinks and twists and make each seedling different to the next. This means that come styling time I will have a range of shapes and styles to play with. I have also found that if you try to create styles at this stage you limit yourself somewhat. The more random you can make the trunks the more natural they seem. The times I have thought about their final form I ended up with many similar trees.
They should now be fed and left to thicken for a year or two. Once the wire cuts in I will un-wire and depending on how the bends have set, I may re-wire again.
Once i have them at pencil to finger thick I will start thinking about creating branching and small canopys. This should ensure that in a few years time I will have a lot of interesting stock to play with.
Hopefully this post inspires a few people to have a go themselves. You don’t need a lot of space, ground or time and the rewards in a few years from such a small investment should be well worth your efforts.