This year I was lucky enough to have been invited to demonstrate and conduct workshops along side Robert Stevens at the Tops weekend that is hosted by the Illawarra Bonsai Society. I had always heard good things about the weekend and had been meaning to go for a number of years but it was not until I saw it for myself that I realised just what a great bonsai weekend it actually is.
Demonstrations, rolling workshops, suiseki daiza making, individuals working on their own trees and a good deal of socialising all makes for an outstanding weekend.

The view from above Stanwell
Add to that a fantastic venue and stunning location and you have a great event well worth the drive/flight/etc.

The view from breakfast across the valley.
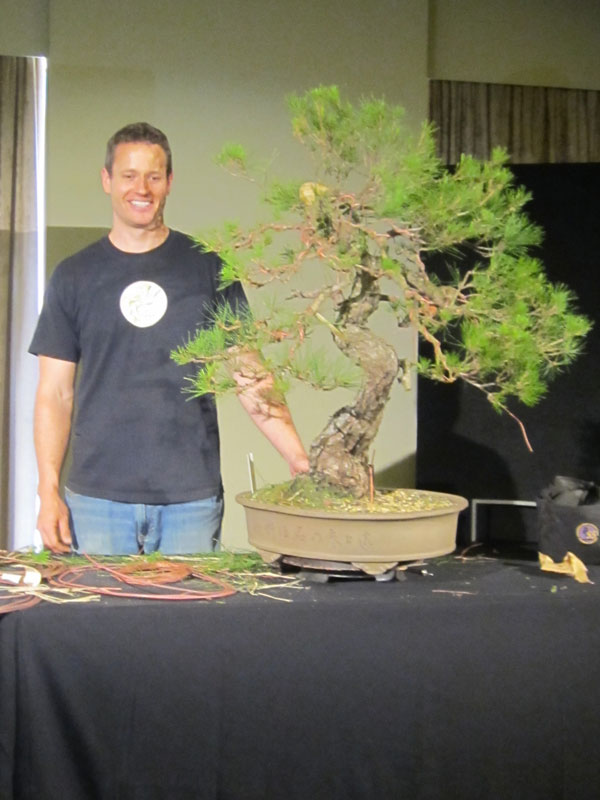
As per usual, I took far less photos than I intended. As a result I only have a couple from my demonstration. The stock was from Bonsai South and i was quite surprised at the quality of stock available. There was a great range of ground grown material at reasonable prices.
I ended up choosing a juniper that I later found out was from the reject pile as it was a little wild and unusual. This is part of the reason I chose it. I enjoy a challenge and there was something about the material that kept me coming back to it.

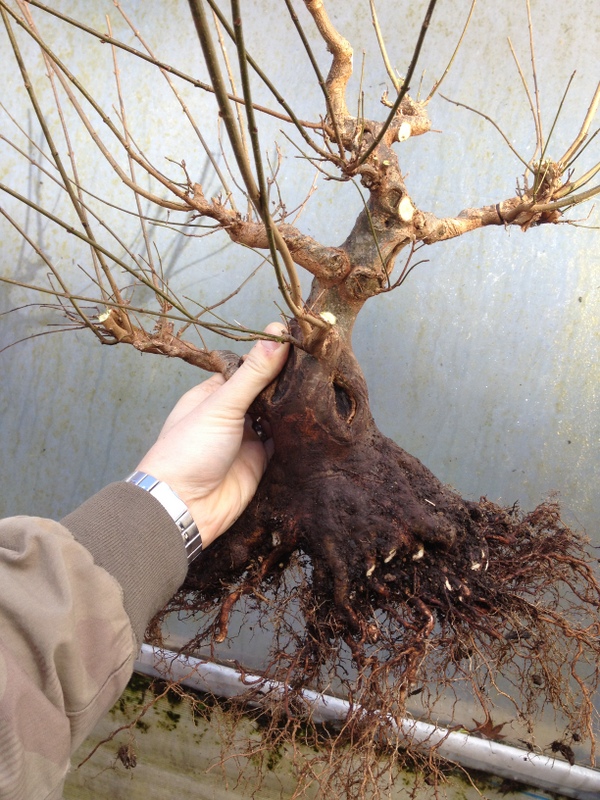
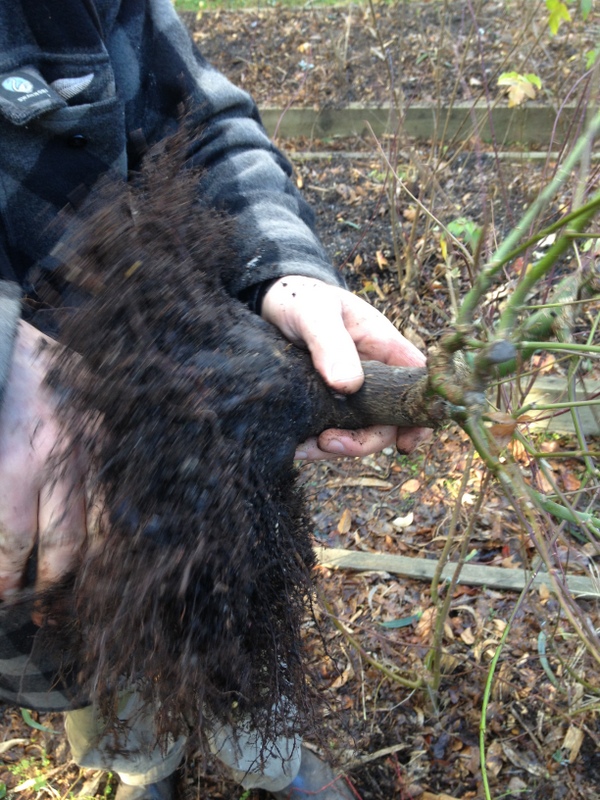
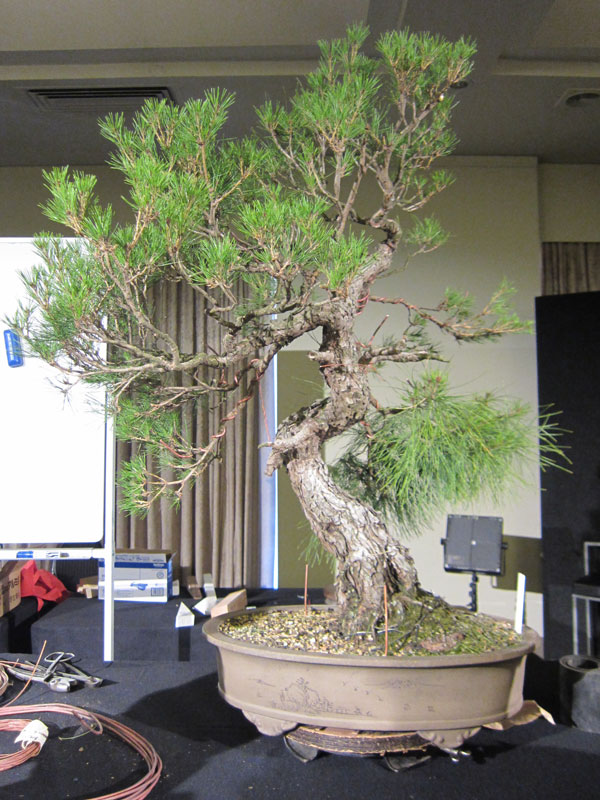
Prior to any work.
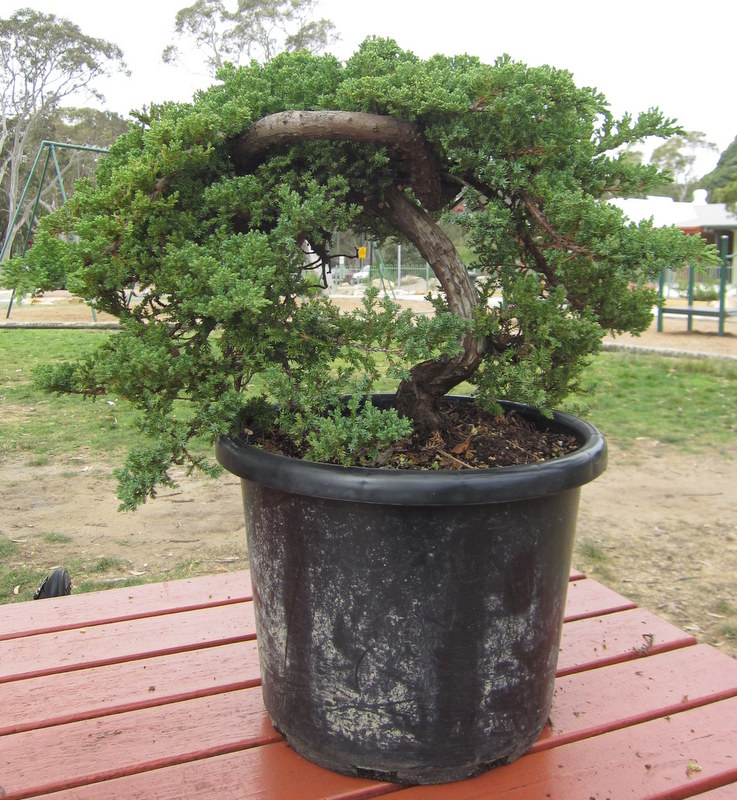
Prior to any work from the other side.
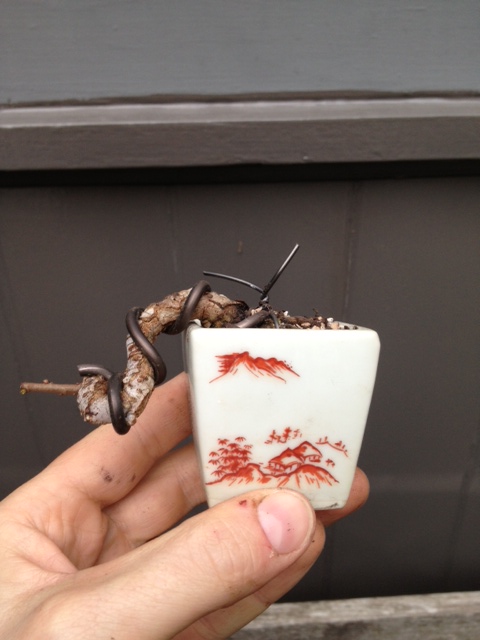
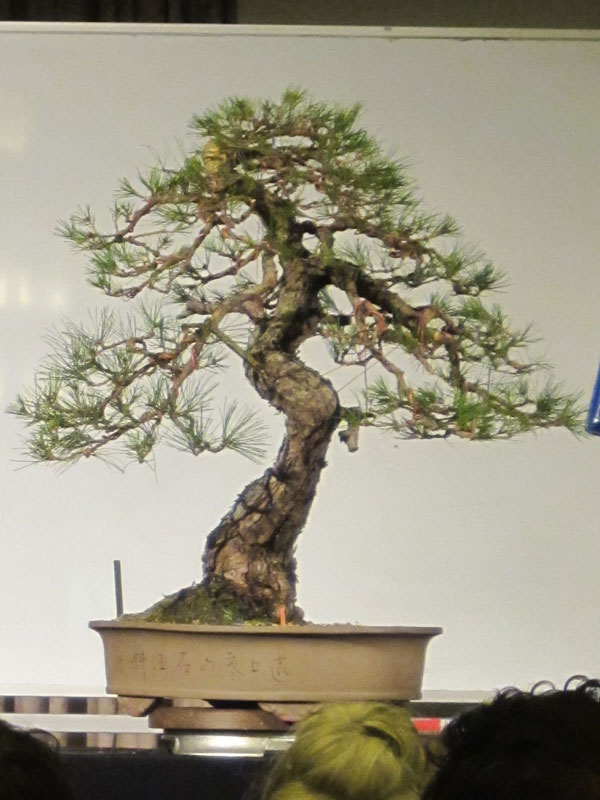
As is often the case, time was a little limited during the demonstration so the end result was a little rushed and only main wires were applied. That said, the basic shape was found and I think it should grow into an interesting tree in the future evne if i would have like to spend another couple of hours on it.
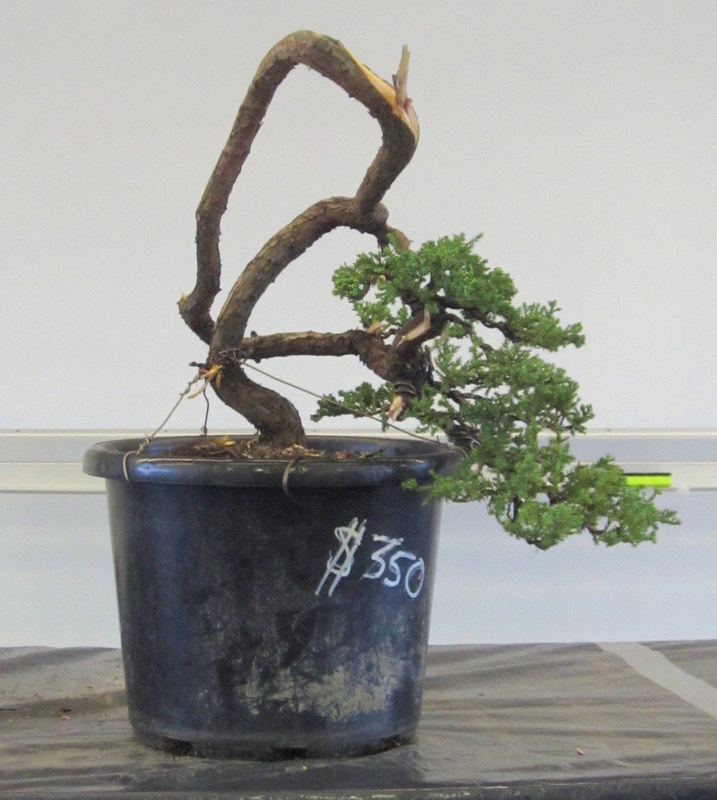
The “finished” result.
The tree was raffled later in the weekend and knowing who bought it I have a good feeling I will see the tree around the traps in the future. It will be interesting to see how it develops and matures.
I was fairly busy most of the weekend so I didn’t get much time to see Robert Stevens work but I was able to see two of his demonstrations.
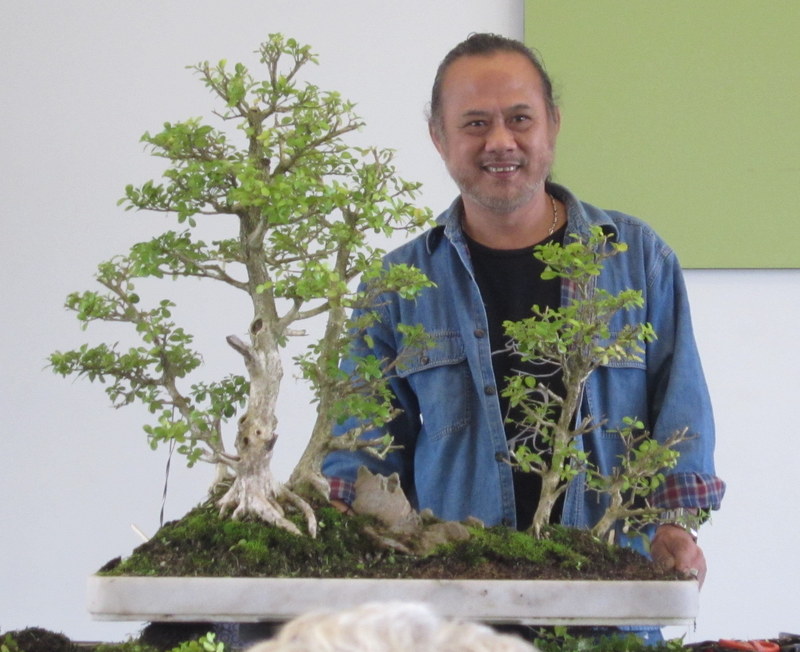
Robert at work on a buxus group.
Robert had some very interesting ways of approaching styling. The beauty of his approach is it can be applied to different aesthetics. I definitely took a few new things on board as I am sure most others that were watching did.
All in all I had a fantastic weekend. I caught up with old friends and made some new ones, all while talking, discussing, styling and working on bonsai.
For anyone who has ever thought about going but has not yet bit the bullet and gone, I would definitely recommend the weekend. I had a ball and I am sure anyone else interested in bonsai would also.


")
")
")


")
")

")
")
")
")
")
")
")
")