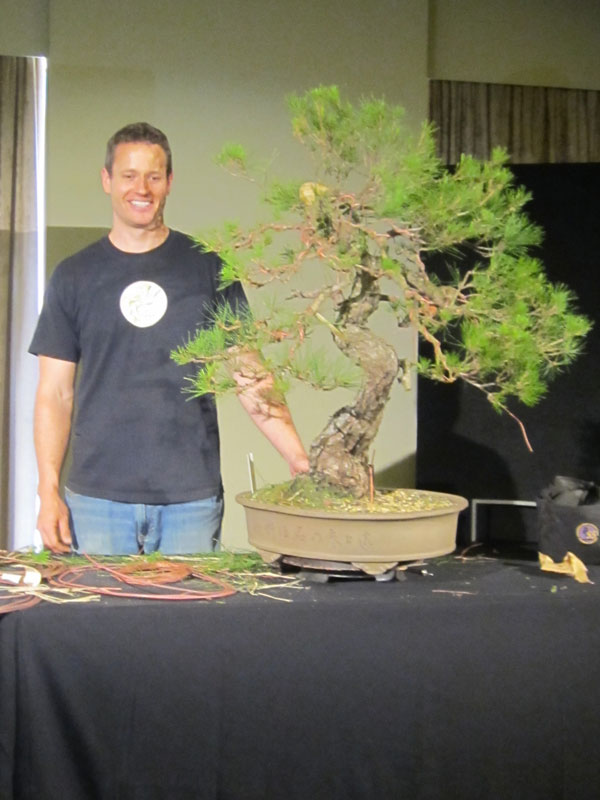
I have been trying to keep my collection from growing any larger with mixed success over the last few months. What makes it especially hard is when you help friends dig stock out of their growing rows at their nursery.
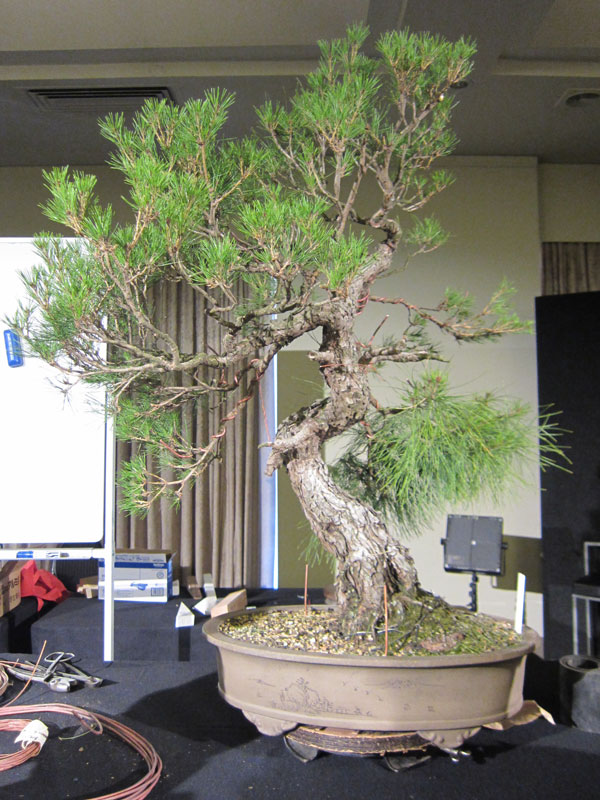
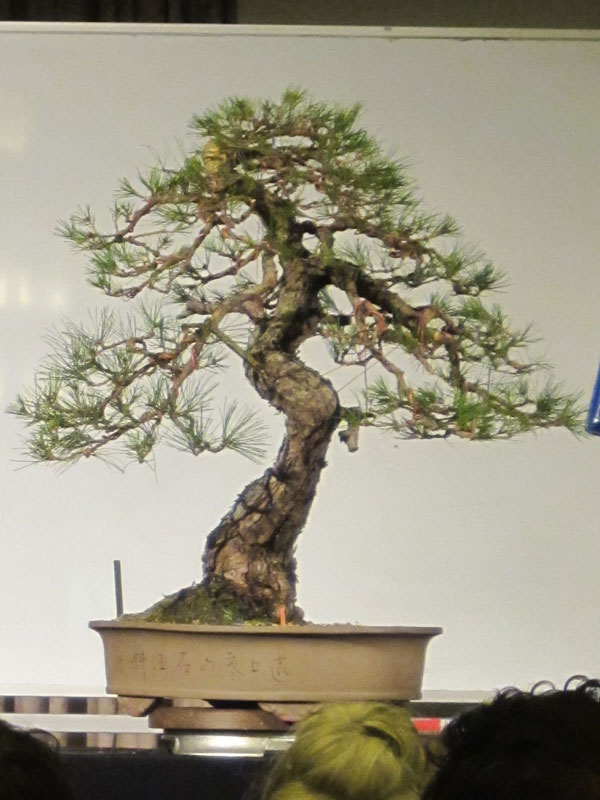
This years visit to Shibui Bonsai was much like last years in that a lot of nice stock was dug (which I am sure a lot will be featured in the coming seasons catalogue). Although a lot caught my eye, I was well-behaved and none of the ground grown stock came home. That is not to say I didn’t bring anything back to the benches…….
For a while now I have been meaning to grow some small twisted mini’s to use as accents in 3 point displays. On the benches at Shibui, Neil had a range of interesting little chinese elm root cuttings that I thought would be perfect for the project so I brought one home.

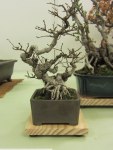
The cutting out of its original pot
Today I wired the cutting to enhance some existing curves and then re-potted into a much smaller container in which I plan to start to grow a small crown from.
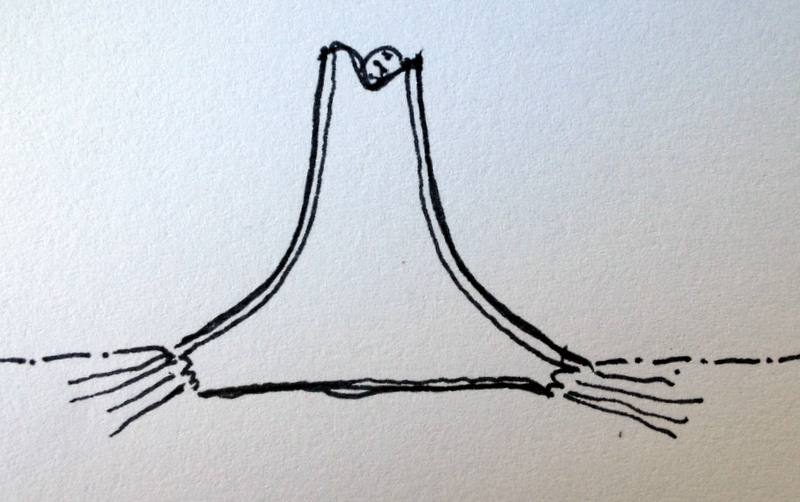
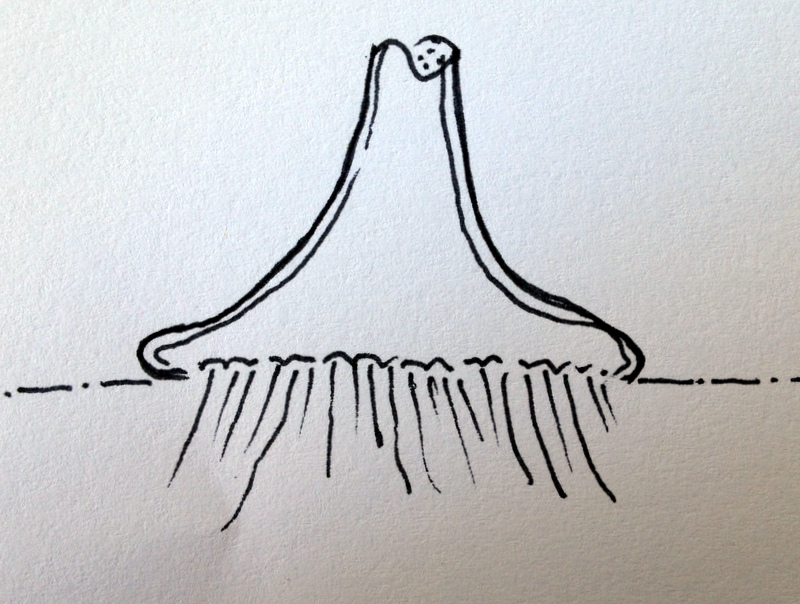
Often working out how to secure a small tree into a small pot which only has one drainage hole can be difficult but I have found the method shown below works well.

tie-in wire secured to a larger wire.
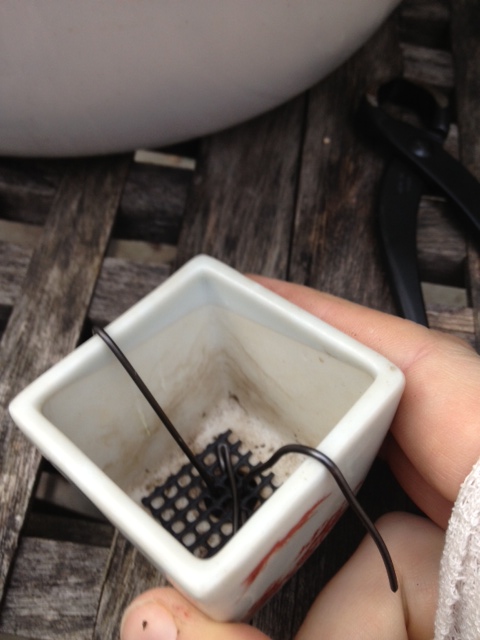
Mesh installed and tie in wires ready to accept the tree.
The pot itself is by no means a museum piece but it is a well made Marufuji production pot. Being a little on the large side will serve it well to help the tree establish some new ramification. Once I am happy with how the ramification is progressing I will look for a more suitable pot anywhere up to half the size of the current container.

The roots were reduced accordingly.
For such a small cutting the tree had grown a number of large roots all of which I removed and or shortened to fit into its new home.
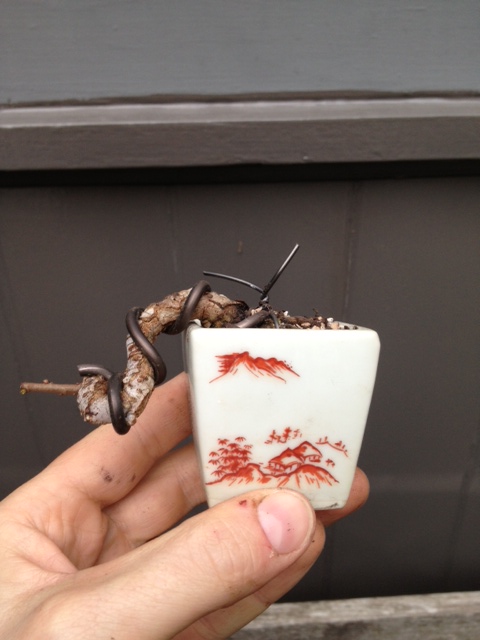
Potted up but before I trimmed the tie in wires.
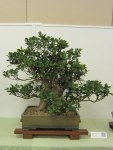
After half an hours work the tree had found its new planting angle and its new pot. It is by no means a masterpiece but I think once I can develop some ramification it could make an interesting companion to a larger tree.
I think this little tree will make a nice addition to the collection in the coming years and being so small it shouldnt effect the space I have too much. In fact I probably have a whole lot of room for trees of this size.